
The Aftership Tracking integration provides Cavalry with the ability to track shipments in real time, giving AI necessary information to address issues that may depend on accurate shipment tracking data.
Setup Instructions
1. Collect Aftership Tracking credentials
Create an API key
Log in to your Aftership Tracking dashboard and navigate to
Settings->API keys->Create API keyEnter a
name(for example,Cavalry)Under
Select signature headerselectAPI keyUnder
Select admin API permissions->Trackingensure thatreadpermissions are granted for all.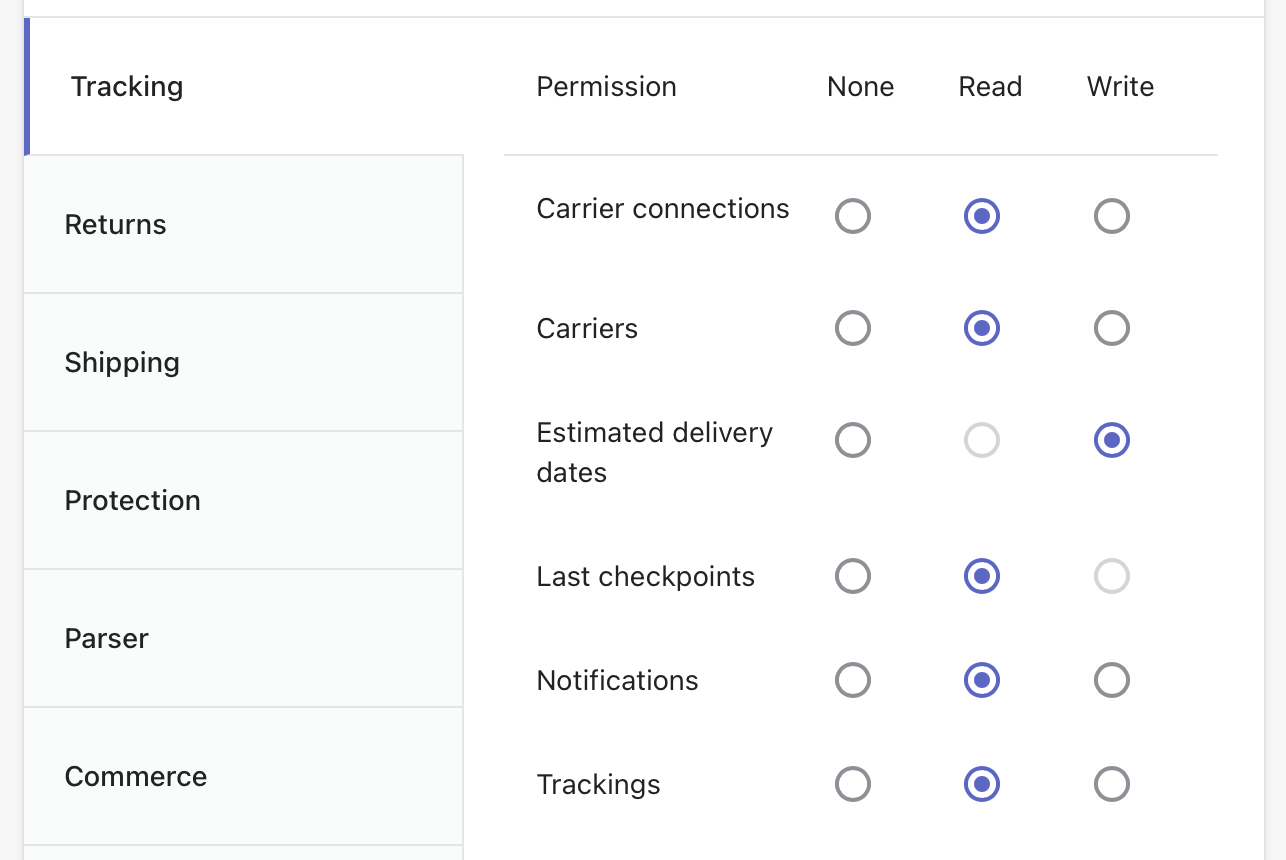
Click on
SaveIMPORTANT: After creation, copy the API key. You will need it later.
Find your Webhook secret
In your Aftership Tracking dashboard, navigate to
Settings->WebhooksIMPORTANT: Copy the value under
Webhook secret. You will need it later.
2. Configure integration in Cavalry
Navigate and log in to your Shipped Suite dashboard
Navigate to
AI Agent->ChannelsScroll down to find
Aftership Trackingand click onEnableEnter the API key and Webhook secret from the previous steps and click
ContinueIMPORTANT: On the next page, copy the value under
Webhook URL
3. Finish configuring webhooks in Aftership
Switch back to your Aftership Tracking dashboard under the
WebhookspageUnder the
Webhook URLssection click onAdd webhook URLUnder
Webhook version, select2025-04Under
Webhook URLenter the URL copied from Shipped Suite at the end of section 2(Optional) Expand
Test webhooksection and click onSend test webhook. You should receive a "Test successful" message.
Click on the
Addbutton at the bottom